")
In the mailbox you can see all your inbound and outbound emails to every contact including engagements and AI responses. The Mailbox page is accessible via the envelope icon.

The Inbox and Outbox will separate your outbound and inbound emails but are formatted in the same way.
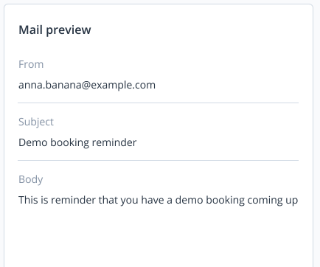
Clicking on a message will open it up in the preview box on the right-hand side, this will also track any prior conversations you’ve had with the recipient in a thread.
You can filter messages by engagements by selecting an engagement in the box next to the search bar in the top left-hand corner. You will also be able to filter messages by date using the boxes in the top right-hand corner of the table.
Creating a new Email
You can create a new email by pressing the “Create Email” button in the top right-hand corner; you can also create a new email in the same way when you are creating a workflow for an engagement.
A text box will appear and ask you to select a template, if you don’t already have a saved template, you can create one by pressing the button at the bottom of the text box.

This will take you to a new page, known as the email creator, where you can begin to fill out some of the details for the email template, including the subject and date and time to send.

You will also be able to preview and choose from several designs, choose the one which best fits the message you want to send. When you have selected you will be taken to a new screen displaying the template.
Alongside every template, regardless of which is chosen, you will have a side column which will display information and allow you to edit features including images, text, and banners. You will also be able to add additional places for images, texts, buttons and dividers if you wish under the constructor subheading.

The three tabs at the top separate the header, body and footer so they can be edited separately without affecting one another. The active tab will display a thin blue box around the area of the email you are currently editing.
Selecting an image or text box will change the display on the column. Selecting an image block will allow you to adjust the size, background colour and upload an image as displayed in the image above.
Selecting text will open up a text box. You will be able to edit the text via the box or the column, but the column will also allow you to adjust the size and font and add other features. The box itself will allow you to copy or delete the text from the email entirely.

You can preview your email at any time by scrolling down to the bottom of the page and selecting “Preview”. Once your email is complete select “Save and close”. The email will then send at the set time and date.