")
The group’s page allows you to link contacts together and save you time by being able to send them all a message at once.
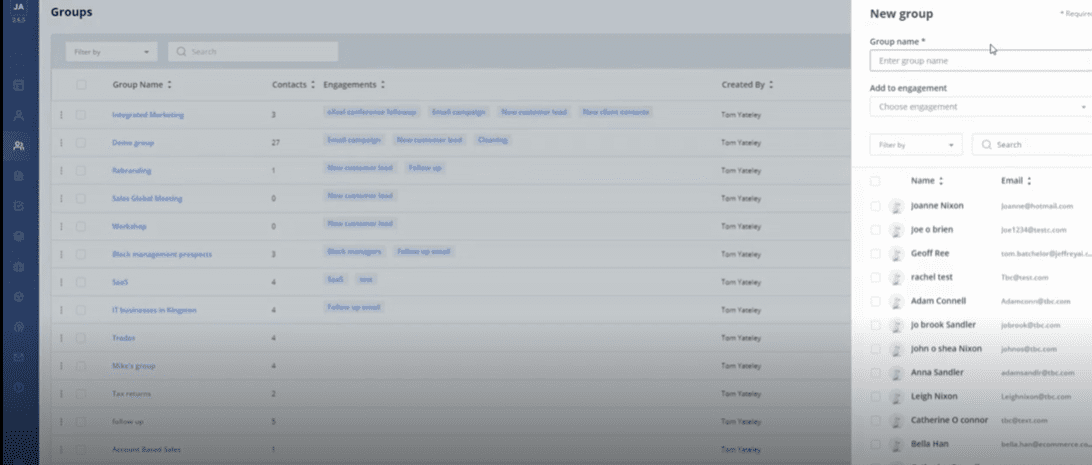
Opening the page will show you a list of current groups, including their names, how many members they have, and engagements linked to them.

Creating a New Group
You can create a new group by selecting the “Create Group” button in the top right-hand corner of the page. This will open a side column on the right-hand side of your screen.
Once you have chosen a name for the group, you can also link the group to an engagement immediately. You will be able to add contacts by selecting the tick box next to their names. You can use the search bar and filters to find the contacts you desire easily.
When you are ready, you can create a group by selecting create in the bottom right-hand corner, you can also press “Cancel” at any time to stop creating a group.
You can edit a group at a later point by selecting the edit button located on the right-hand side of the group name in the table.

Group Details
Selecting a group will take you to a details page. The new page looks very similar to the contacts page table, but the names that appear will be members of the group, rather than your whole contact list.

The contacts list for the group is displayed under group details. Search and filtering functionality can help further in finding a specific contact.
To view contact details, including related Activities and Sales flow, double click on the Contact record in the Contacts table.
